The late afternoon sun hit the kitchen just right, turning every greasy fingerprint on the cabinet doors into a spotlight.
She stood there with a damp cloth in her hand, staring at the dull, sticky film that no amount of scrubbing seemed to shift. Spray cleaner, dish soap, those bright yellow “degreaser” wipes lined up on the counter like failed soldiers. The cabinets still looked tired. Worn. Slightly tacky to the touch. Not dirty enough to renovate, but not clean enough to ignore.
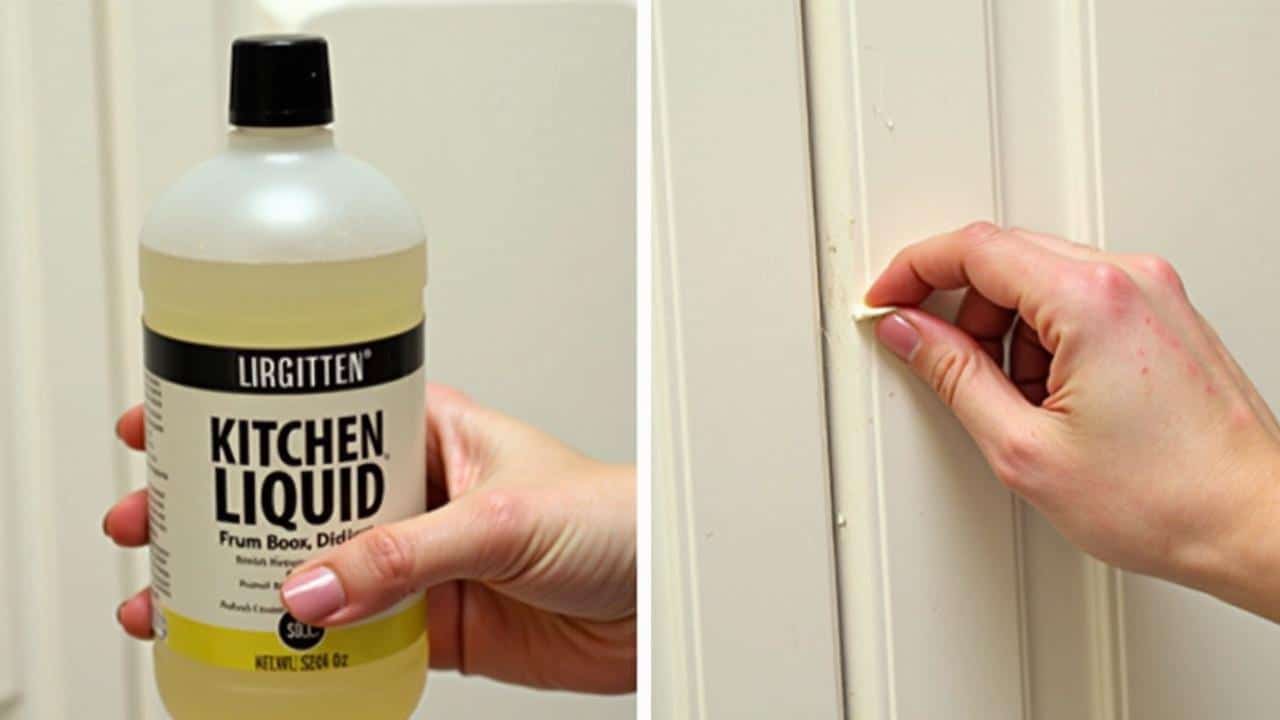
Out of habit more than hope, she reached for a glass bottle shoved at the back of the pantry. A familiar kitchen liquid people pour on salads, drizzle on tomatoes, and then forget about. Two minutes later, the door under her sink was smooth, clean and catching the light again. It looked… new. And she’d barely rubbed at all.
The secret wasn’t a miracle spray. It was something you probably already own.
The kitchen liquid hiding in plain sight
The “forgotten” liquid is simple white vinegar, the same one you splash in dressings and ignore the rest of the week. On cabinet doors, especially those coated with months of cooking steam and sticky fingerprints, it behaves like a quiet professional. No foaming action, no artificial lemon blast, just a slow, steady dissolving of grease and grime. Mix it with warm water, swipe once, and suddenly the cloth is doing real work instead of just spreading dirt around.
People underestimate it because it feels too ordinary. Vinegar isn’t glamorous. It doesn’t arrive in a neon bottle with chrome fonts or promise “high-tech degreasing molecules.” It’s just… vinegar. Maybe that’s why it works so well. It’s not trying to impress anyone.
A home organization group on Facebook ran an informal poll last year: what actually works on grimy cabinets? Out of nearly 12,000 comments, white vinegar mixed with warm water kept popping up, again and again. One woman shared that she’d been about to repaint her cream cabinets because they looked yellow and “old.” She tried a 50/50 vinegar and water spray first, mostly to make herself feel better about the expense she was about to justify.
Half an hour later, her “yellow” doors were back to their original shade. The change was so strong that her husband genuinely thought she’d ordered new fronts. No scrubbing until her shoulders ached, no harsh fumes, no mysterious blue gel. Just a pantry staple and a microfiber cloth. Stories like that don’t make it into glossy cleaning product ads, but they quietly travel between friends, neighbours and group chats.
There’s a simple reason this works. Grease from cooking is slightly alkaline. Vinegar is acidic. When they meet, the acid helps break down the greasy film so it lifts away instead of smearing. That’s why you suddenly see that brownish-grey patch on your cloth instead of on your cabinet door. On top of that, vinegar evaporates cleanly, which means fewer streaks and smudges. Your cabinets end up feeling smooth, not sticky or coated with a “cleaning” residue.
It’s not magic. It’s chemistry doing what chemistry does best in a kitchen: balancing things out. *And because vinegar is relatively gentle, it can clean without chewing through most modern finishes.* That’s what gives you that quiet, low-effort shine.
How to use vinegar so your cabinets look new again
Start with the simplest version. Fill a bowl or spray bottle with equal parts warm water and white vinegar. Dip a soft cloth or sponge, wring it out well, and test a small spot inside a cabinet door first. If the finish looks fine once it dries, you’re good to go. Work in sections the size of a sheet of paper. Wipe gently in the direction of the wood grain or panel design, then immediately follow with a dry cloth to buff.
➡️ Doorbell camera captures conversation about stolen vehicle, leading to felony charge | Select
➡️ Goodbye to the dining table : the new trend from abroad that replaces it for good in homes
➡️ IKEA brings a cult sofa back from the dead after 50 years – design fans rush to get one
➡️ Young Atlantic salmon seen in three English rivers for first time in a decade | Fish
➡️ No more duvets in 2026? The chic, comfy and practical alternative taking over French homes
➡️ Legendary rock band retires after 50 years “the hit everyone knows”
On very grimy spots, like around handles or near the stove, hold the damp vinegar cloth against the area for 10–15 seconds before you start wiping. That tiny pause gives the solution time to soften the grease. Then, with light pressure, you’ll feel the surface go from draggy to smooth. That’s your cue that the film is lifting and the original finish is peeking through again.
Most people attack their cabinets once a year, in a burst of guilt-fuelled spring cleaning, and then wonder why it feels like war. Soyons honnêtes : personne ne fait vraiment ça tous les jours. A smarter rhythm is lighter, more frequent passes. A quick wipe of the doors nearest your hob every couple of weeks with diluted vinegar means you’ll never face that thick, sticky layer again. And yes, life gets in the way. Kids, pets, late dinners, long days. That’s why the “almost no effort” part matters so much.
If you have wooden cabinets with an oil or wax finish, go a bit weaker: one part vinegar to three parts water. Always dry thoroughly. Avoid scrubbing pads, baking soda pastes or anything abrasive on shiny laminates and high-gloss paints. They’ll “work” in the sense that the dirt disappears, but they can scratch the sheen and leave you with a dull, patchy look that no amount of buffing fixes.
“I’d tried every ‘cabinet cleaner’ on the aisle,” says Hannah, a renter who inherited a kitchen coated in someone else’s cooking habits. “The vinegar mix took me the same amount of time, but the difference was that the cabinets actually felt clean afterwards, not just perfumed. I wish I’d started with that instead of wasting money on four different bottles.”
- Use cool to warm water with vinegar, never boiling hot, to protect finishes.
- Work from top cabinets down so any drips don’t run over freshly cleaned doors.
- Change your cloth often once it looks grey, otherwise you’re just re-depositing grime.
Why this tiny habit changes how your whole kitchen feels
There’s a reason freshly cleaned cabinets make a kitchen feel calmer, even when the sink is full and the table is chaotic. Cabinets sit right at eye level. You see them every time you walk in, grab coffee, or open the fridge. When they’re dull and streaked, your brain quietly registers “mess,” even if you can’t pinpoint why the room feels off. One light vinegar session can flip that message from “tired” to “taken care of.”
On a sensory level, you also lose that sticky edge that catches under your fingertips when you open doors. That almost-invisible drag sends a subtle signal that things are overdue. When the surface is smooth again, everyday movements feel easier. Small, yes. But these are the tiny frictions that build up into background stress. Removing one of them with a five-minute ritual on a Saturday morning is surprisingly satisfying.
On a practical level, keeping cabinet surfaces free of greasy build-up means the finish lasts longer. Dirt and oil work like very fine sandpaper over time, wearing through the protective layer as you touch the same spots day after day. Light, regular vinegar cleaning reduces that slow erosion. Paint stays brighter. Wood stain looks more even. Hinges avoid that gummy drag. It’s not just about today’s shine; it’s quietly buying you extra years before you even think about new doors.
On a deeper level, there’s something grounding about using one simple, familiar liquid for this job. No marketing story. No twelve-step system. Just a bottle you already know, pressed into a new kind of service. On a busy weeknight, when you wipe down one or two doors while dinner simmers, that small act can feel like you’ve reclaimed a tiny corner of control. On a bad week, that matters more than we admit.
So the next time you’re standing in your kitchen, noticing the cabinets look a bit tired on a bright morning, you won’t have to dread a full-on cleaning marathon. You’ll know that buried somewhere behind the pasta and tins is the quiet hero of this story. A kitchen liquid used for decades, pushed aside by louder products, ready to do a different kind of job. One bowl, one cloth, a few easy swipes. Then step back, let the light hit the doors, and see what was hiding under that film all along.
| Point clé | Détail | Intérêt pour le lecteur |
|---|---|---|
| Vinaigre blanc dilué | Mélange simple eau tiède + vinaigre pour dissoudre la graisse | Solution peu coûteuse et déjà disponible dans la plupart des cuisines |
| Geste en douceur | Wipe dans le sens du grain, puis sécher immédiatement | Évite les traces, protège le fini, donne un aspect lisse et neuf |
| Rituel léger mais régulier | Petits nettoyages fréquents plutôt qu’une “grosse corvée” annuelle | Gagne du temps, réduit la pénibilité, prolonge la vie des meubles |
FAQ :
- Can I use any type of vinegar on my cabinets?Stick to plain white distilled vinegar. Other types, like apple cider or balsamic, can stain or leave a sticky residue.
- Will vinegar damage wooden cabinets?Used diluted (especially 1:3 with water) and wiped dry, it’s generally safe on sealed or painted wood. Always test a hidden spot first.
- How often should I clean my kitchen cabinets with vinegar?A quick wipe every 2–3 weeks in busy cooking zones, and every couple of months elsewhere, keeps grime from building up.
- What kind of cloth works best with vinegar cleaning?Microfiber cloths grab grease and dirt more effectively than old t-shirts or paper towels and leave fewer streaks.
- Why do my cabinets still look dull after cleaning?If they’re clean but lack shine, the finish may be worn, or there may be layers of old product. A second, lighter vinegar pass and a dry buff often revive the surface.